Every mob in LordNine has a small colored number above its level — and that number is doing a lot more work than the in-game tooltip lets on. The color decides how much your stats are punished, how much XP you get, and whether your CC will even land.
This is the no-fluff explanation of every tier and where the actual grinding sweet spot lives.
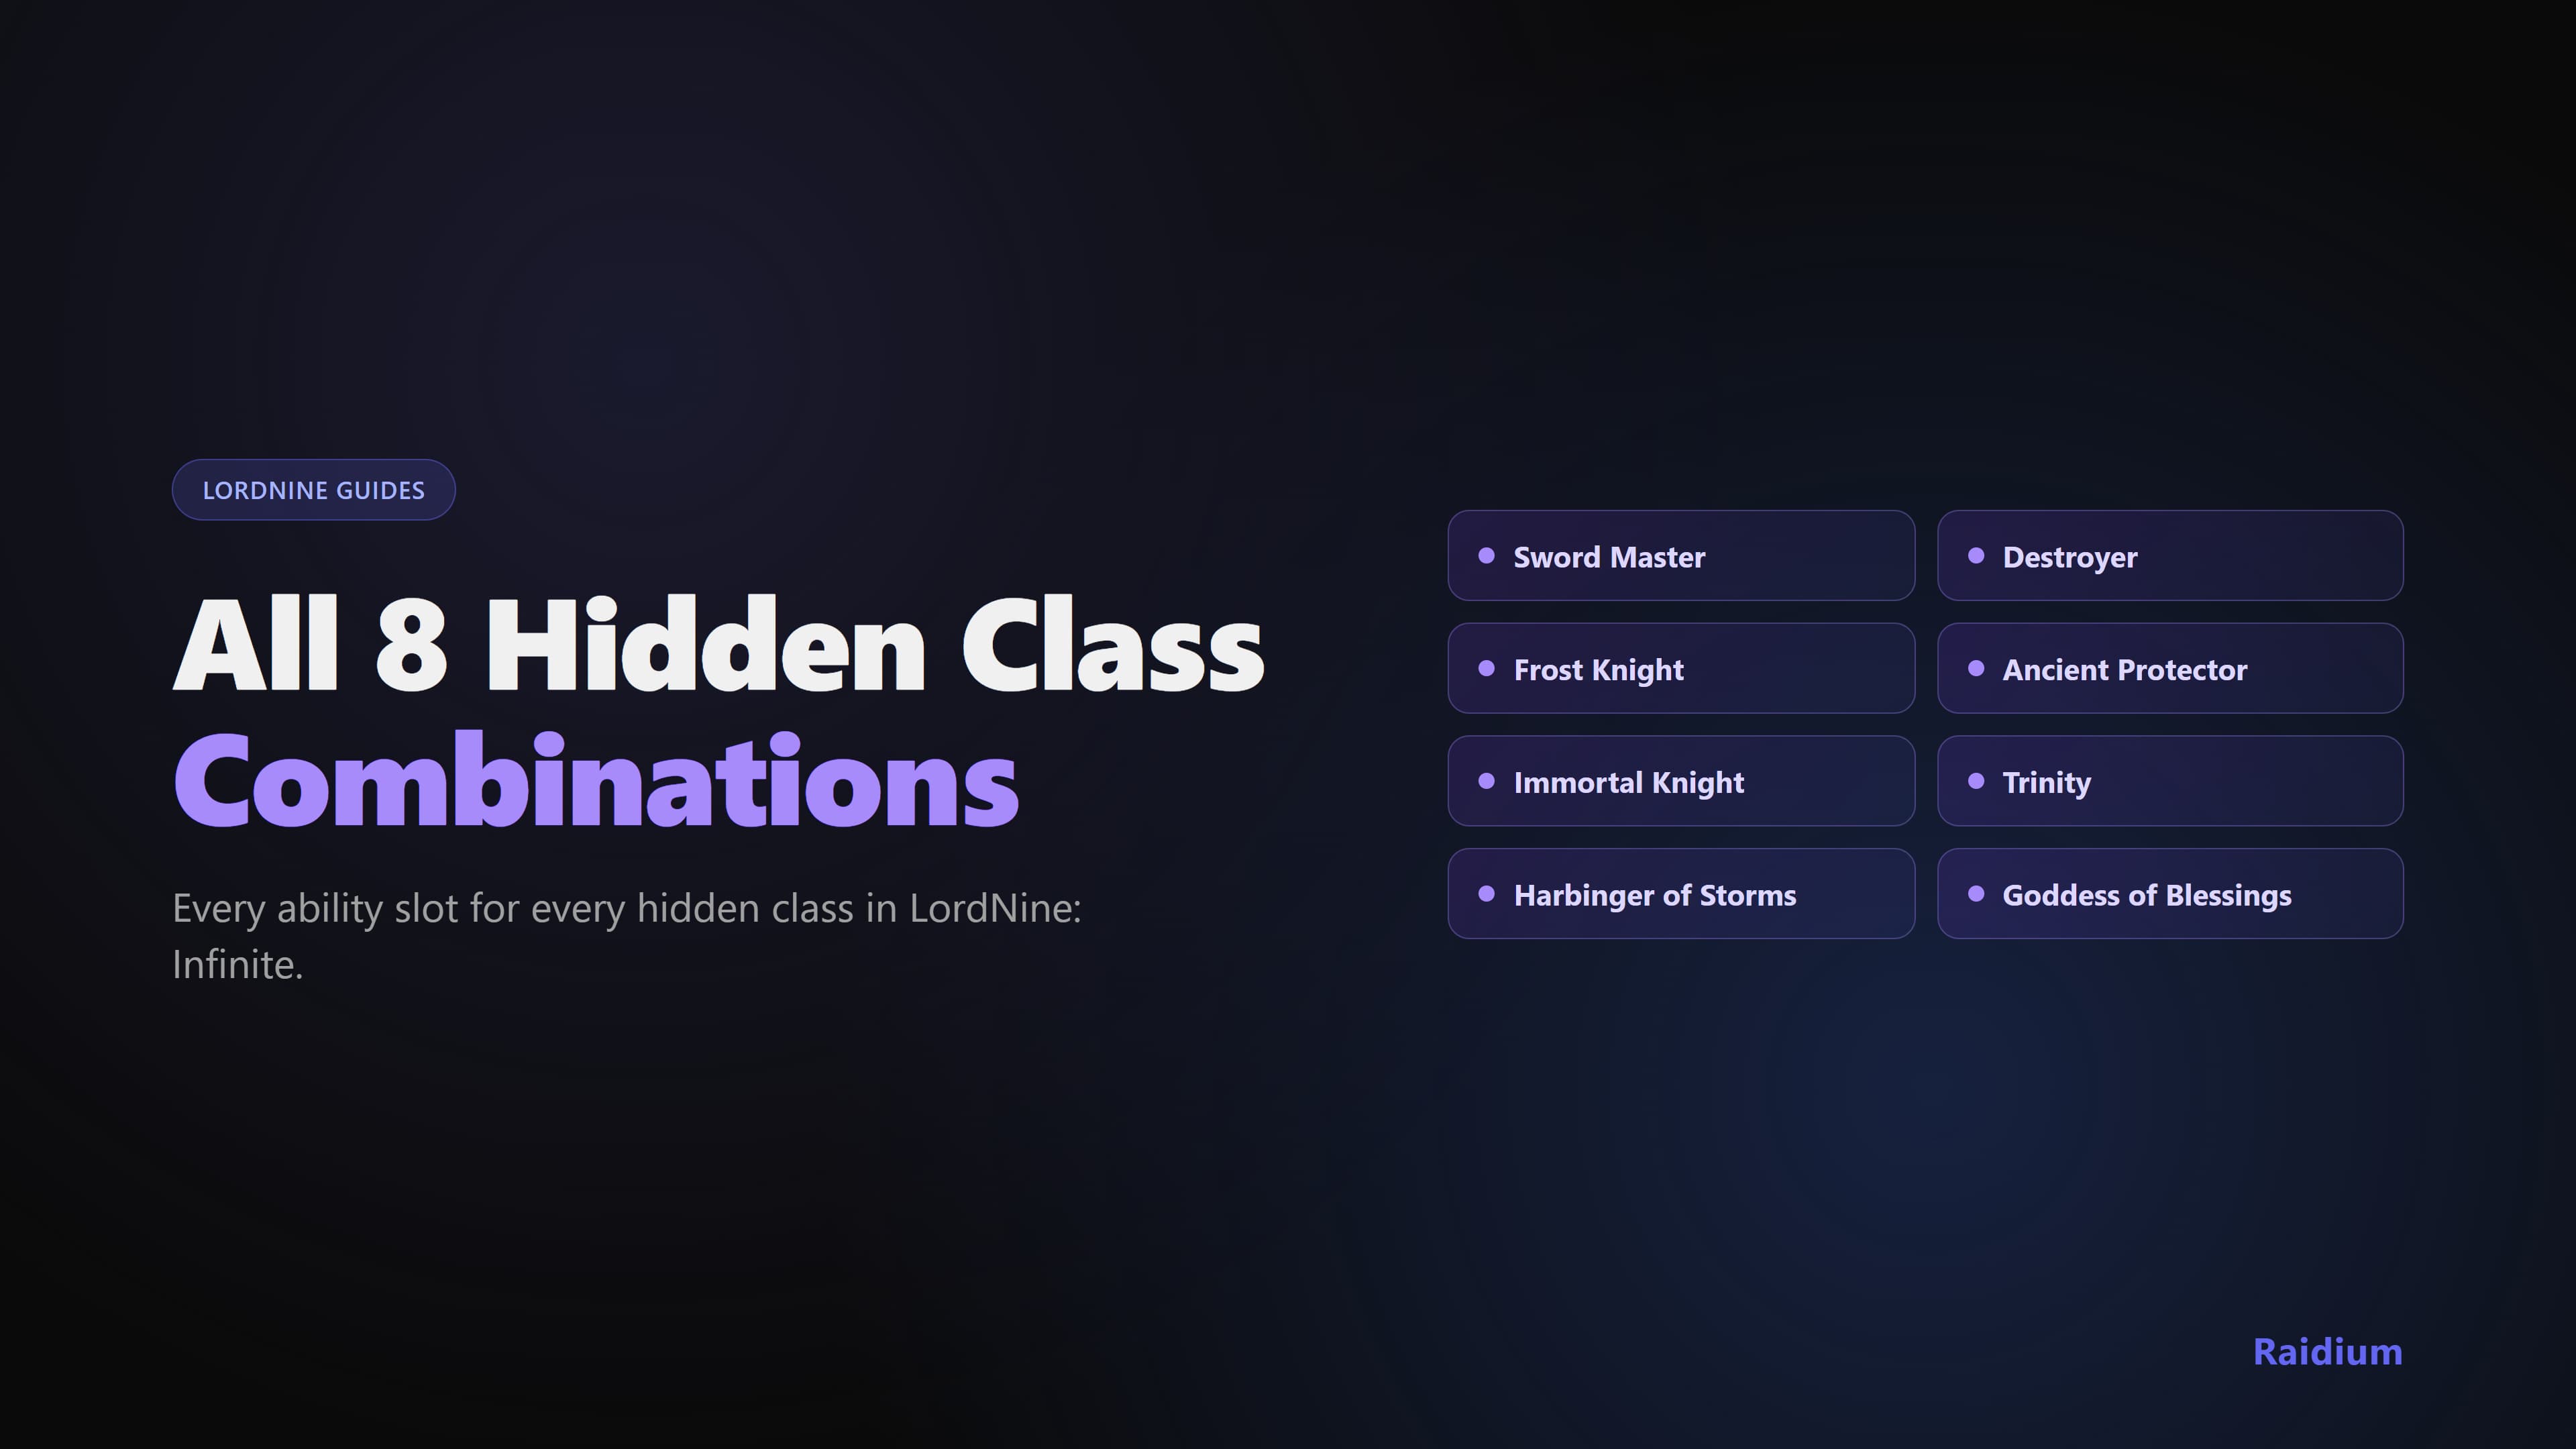
The Six Color Tiers
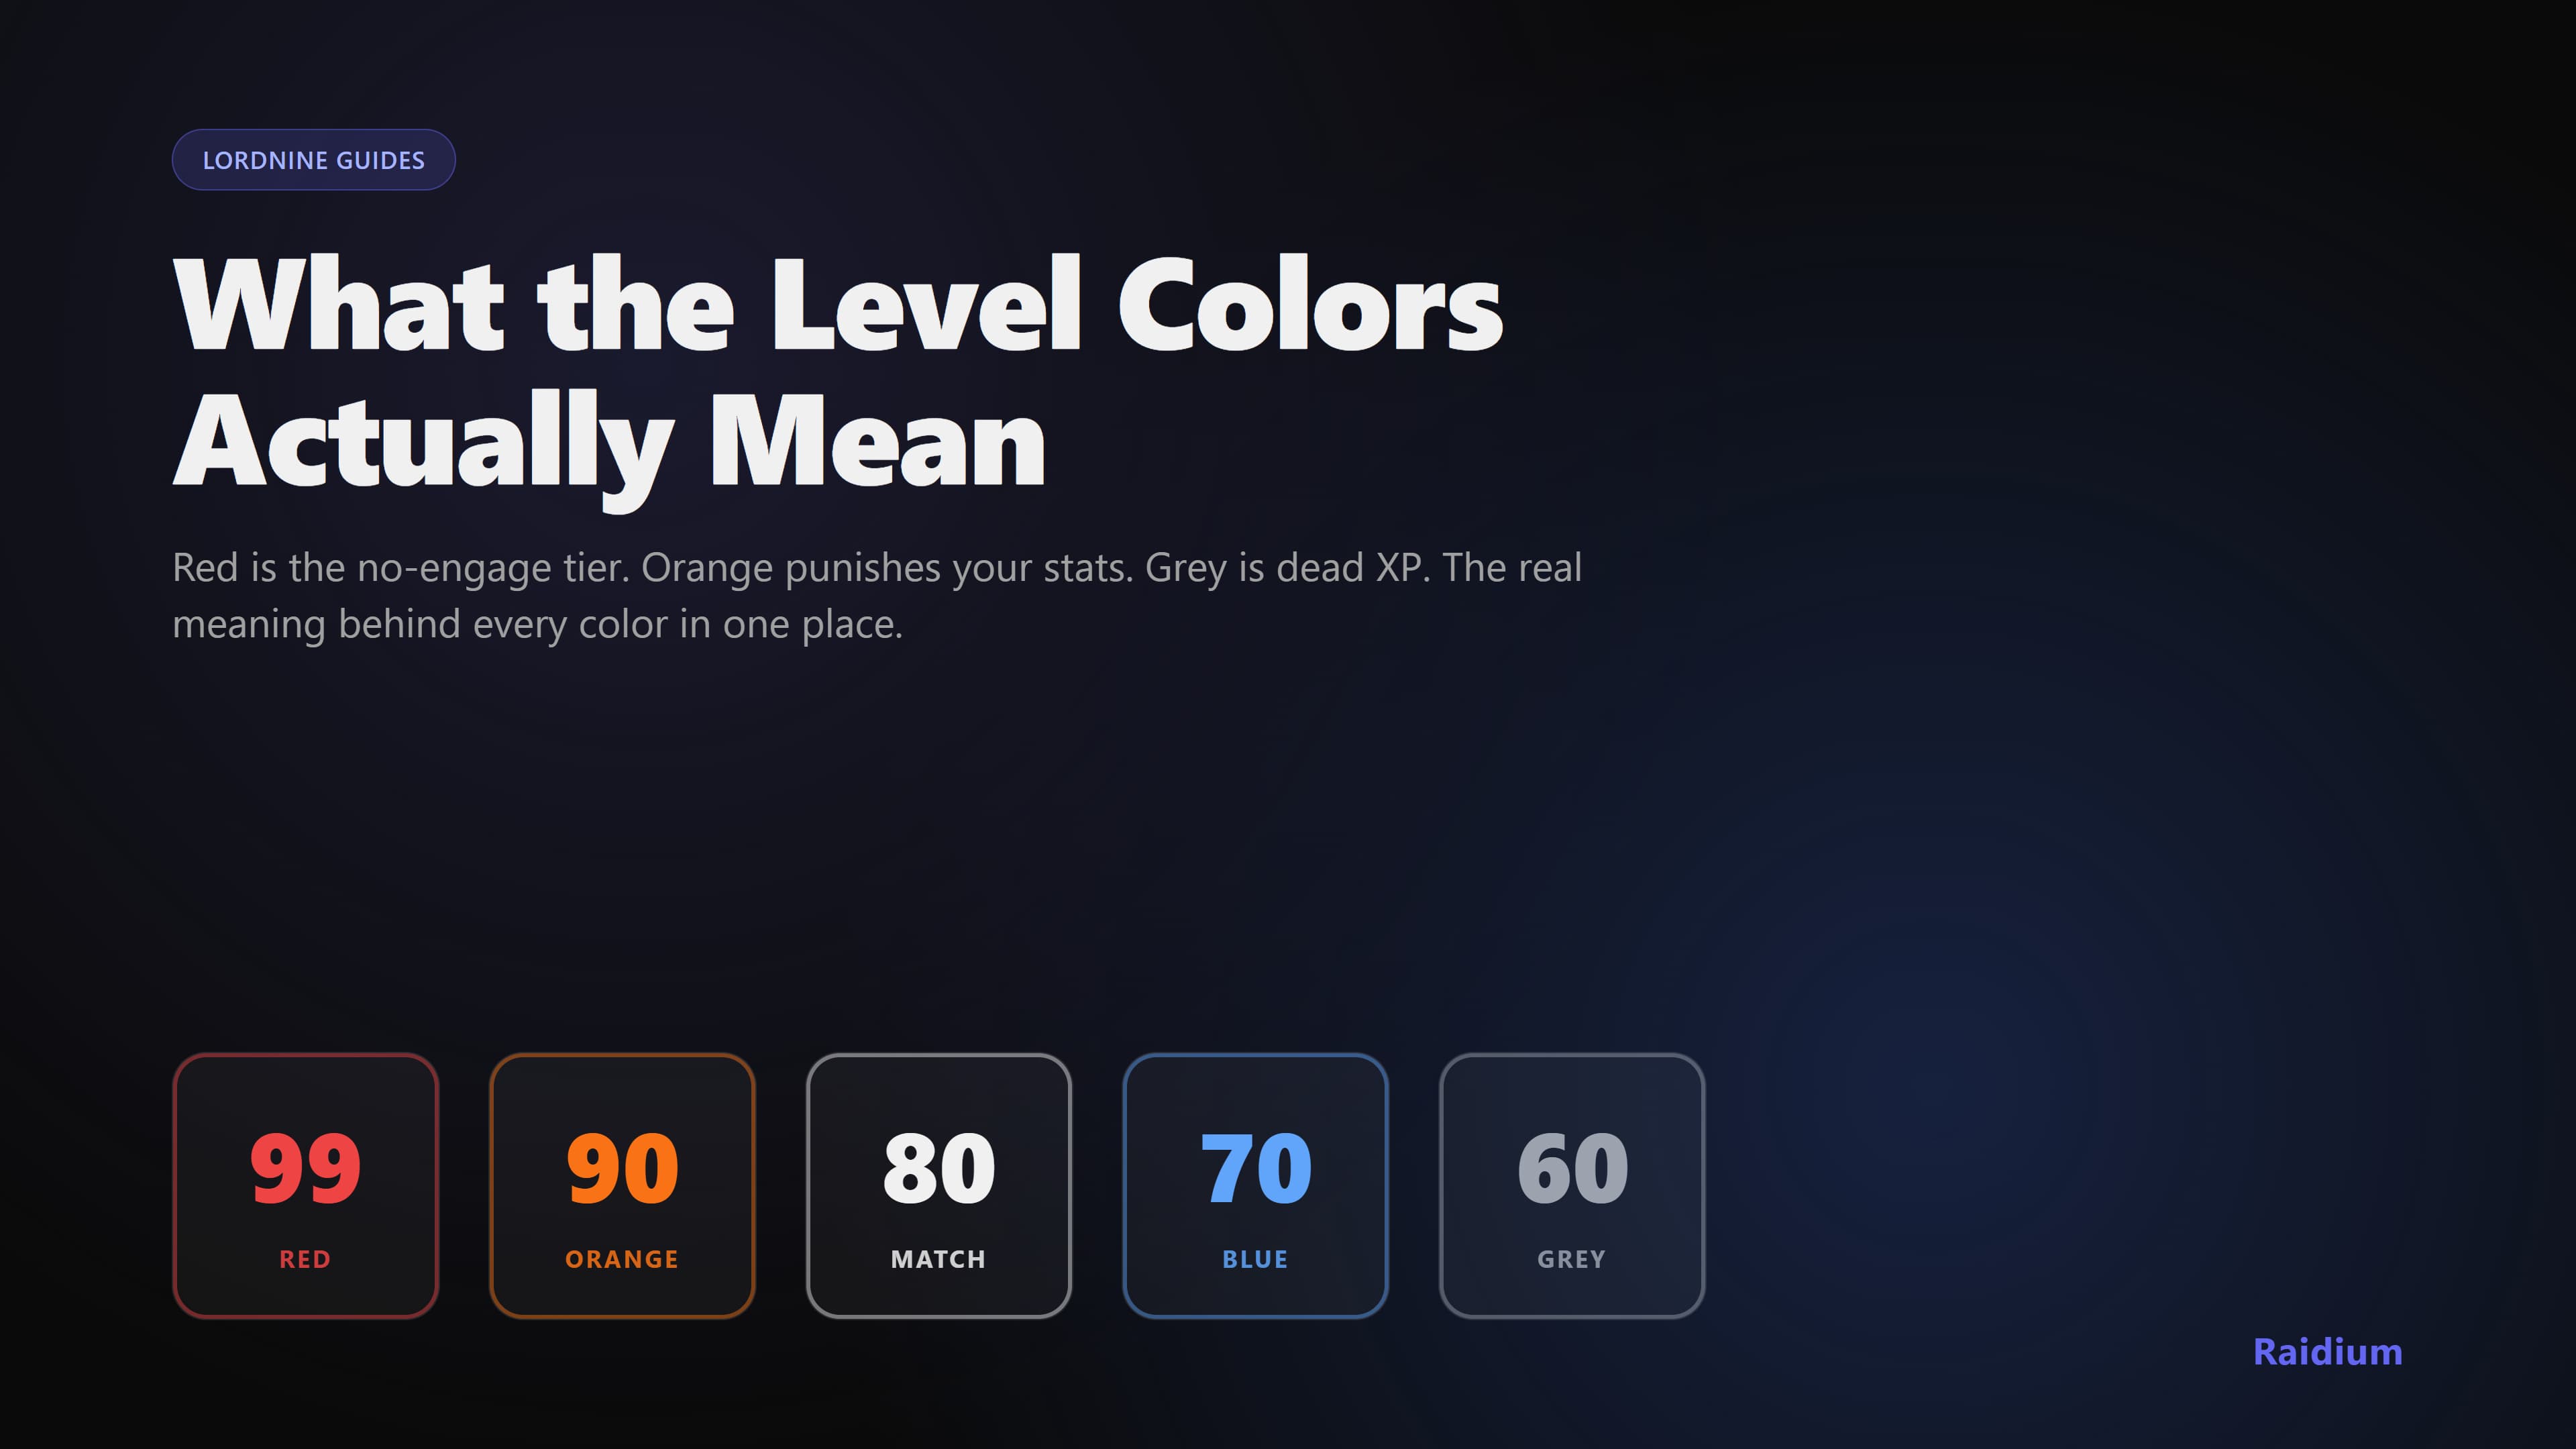
The game shades a mob's level from red (way too high for you) through grey (way too low) with a few stops in between. Each tier maps to a real, observable shift in how the fight plays out.

| Color | What you actually see in-game |
|---|---|
| Red | Severe under-level. Stat penalties are at their worst — you can fight but it's slow, dangerous, and CC barely lands. The game flags this as the "don't engage" tier. |
| Orange | Under-level. Hit, crit, and damage all take a penalty. Doable farming if your gear compensates. |
| No color | The sweet spot. Optimal XP rate, no penalties. |
| Light blue | Slightly over-level. Full XP, easier kill. The safe farming zone when you're stat-checked elsewhere. |
| Blue | Over-level by a lot. XP starts decaying past roughly +10 levels above the mob. |
| Grey | Fully out-leveled. XP nearly gone. Use only for materials or quest cleanup. |
Why Red Tier Is the "Don't Engage" Zone
Red isn't a hard wall — you can kill red-tier mobs if your gear is significantly above their tier. The reason you almost never want to is the stack of penalties:
- Hit chance drops sharply, so a chunk of your attacks miss outright.
- Damage is reduced, so the kills that do land take noticeably longer.
- Crit chance gets slashed.
- CC land-rate is the worst penalty in the table — stuns, freezes, and sleeps barely register on red targets.
XP per kill stays at full while you're underleveled (the game doesn't punish you for trying), but the kill rate per minute craters. Even when the loot rolls work, you're getting fewer rolls per hour than you would farming a level-matched zone with the same gear.
If you do need to fight a red-tier target — boss room, story beat, world quest — bring a party that pulls the effective level up.
Where to Grind
Mobs at your level (no color shown) are the optimal XP target. Level-matched targets give you 100% drops, full quest credit, and the highest XP-per-kill rate the game offers.
A second sweet spot exists at +1 mob level (mobs slightly higher than you, but still close enough to stay no-color or barely orange) — the XP gain is marginally higher and the stat penalty is small. Beyond that, you start losing more in damage and survivability than you gain in XP.
Grinding far below your level (blue → grey) is fine when you're farming materials or finishing quest objectives, but the XP rate craters once you're more than ~10 levels above the mob.
The wrong advice you'll see online: "grind 4 levels below your mob for the safest XP." That's a holdover from other MMOs and it's flat wrong here. The peak XP zone is mob level ±1.
CC Doesn't Land on Overleveled Bosses
Observable behavior: stuns, freezes, sleeps, and other crowd control land far less often when the target's level is significantly above yours. The penalty is steeper than the damage penalty — your stun rotation might still tickle the boss for damage, but the lock-down windows you rely on simply won't trigger.
If you're in a party trying to CC a hard boss, the underleveled members of your party are the weak link. A few practical fixes:
- Pull the boss to your level, not the reverse. Dungeons that scale to the highest party member are pain — get the underleveled members caught up first.
- Stack accuracy and CC-rate stats on builds that need their CC to land. Hit chance and mez (crowd-control) rate take the same level-gap penalty, so investing more accuracy is structurally more valuable when you're underleveled than investing more raw damage.
- Skip the CC tactic entirely for steep level gaps. A pure DPS approach beats a half-failing CC chain.
What the Colors Don't Mean
A few common misreads:
- The colors track level difference, not gear. A red mob with bad gear is still a red mob — the color is not a power assessment, it's a level math indicator. Conversely, a no-color mob with strong gear can absolutely wipe you.
- Two players standing next to each other can see different colors on the same mob. Each player's level gates their own indicator.
- "Light blue" doesn't mean easy. It means safer XP-wise, but if the mob's a boss with mechanics, those mechanics still kill you.
Once You're in the Right Zone
Knowing where to grind is half the battle. The other half is whether your rotation can sustain in that zone. If you find yourself running out of MP mid-grind, the fix is usually fewer big skills, not more potion chugging.
- Try our MP Recovery Calculator — plug in your skills and your stat to see whether your rotation actually breaks even in combat.
Summary
- Red = stacked penalties. Don't engage solo unless gear-checked.
- Orange = penalties, but workable. Farm carefully.
- No color = optimal grind zone. Highest XP rate, no penalties.
- Blue/grey = safe but XP-poor. Use for materials or quest cleanup.
- Mobs ±1 of your level give the best XP. Anything outside that band trades XP for either safety or risk.